Meal Delivery, Week One

On Sunday, I began my quest to regain control of my eating disorder (and return to a healthy body image and weight) by utilizing a meal delivery service.

I selected Dine N Ditch, a locally-based company that caters to athletes and busy, working-adults who care about clean eating and overall wellness.

I signed up for the 6oz meal plan, which consists of five meals per day, six days per week (30 total), with one day scheduled for “normal eating.”

Dine N Ditch delivers every Saturday morning (between 9am and 12pm) and Wednesday afternoon (free of charge), right to your house.

One of my main issues with meal-planning is the repetition, but I have to admit right off the bat that this will not be an issue with Dine & Ditch. Every three days I’m provided with a totally different menu and never have to repeat the same meal more than three times in three days.

For example, this was my menu for Sunday-Tuesday:

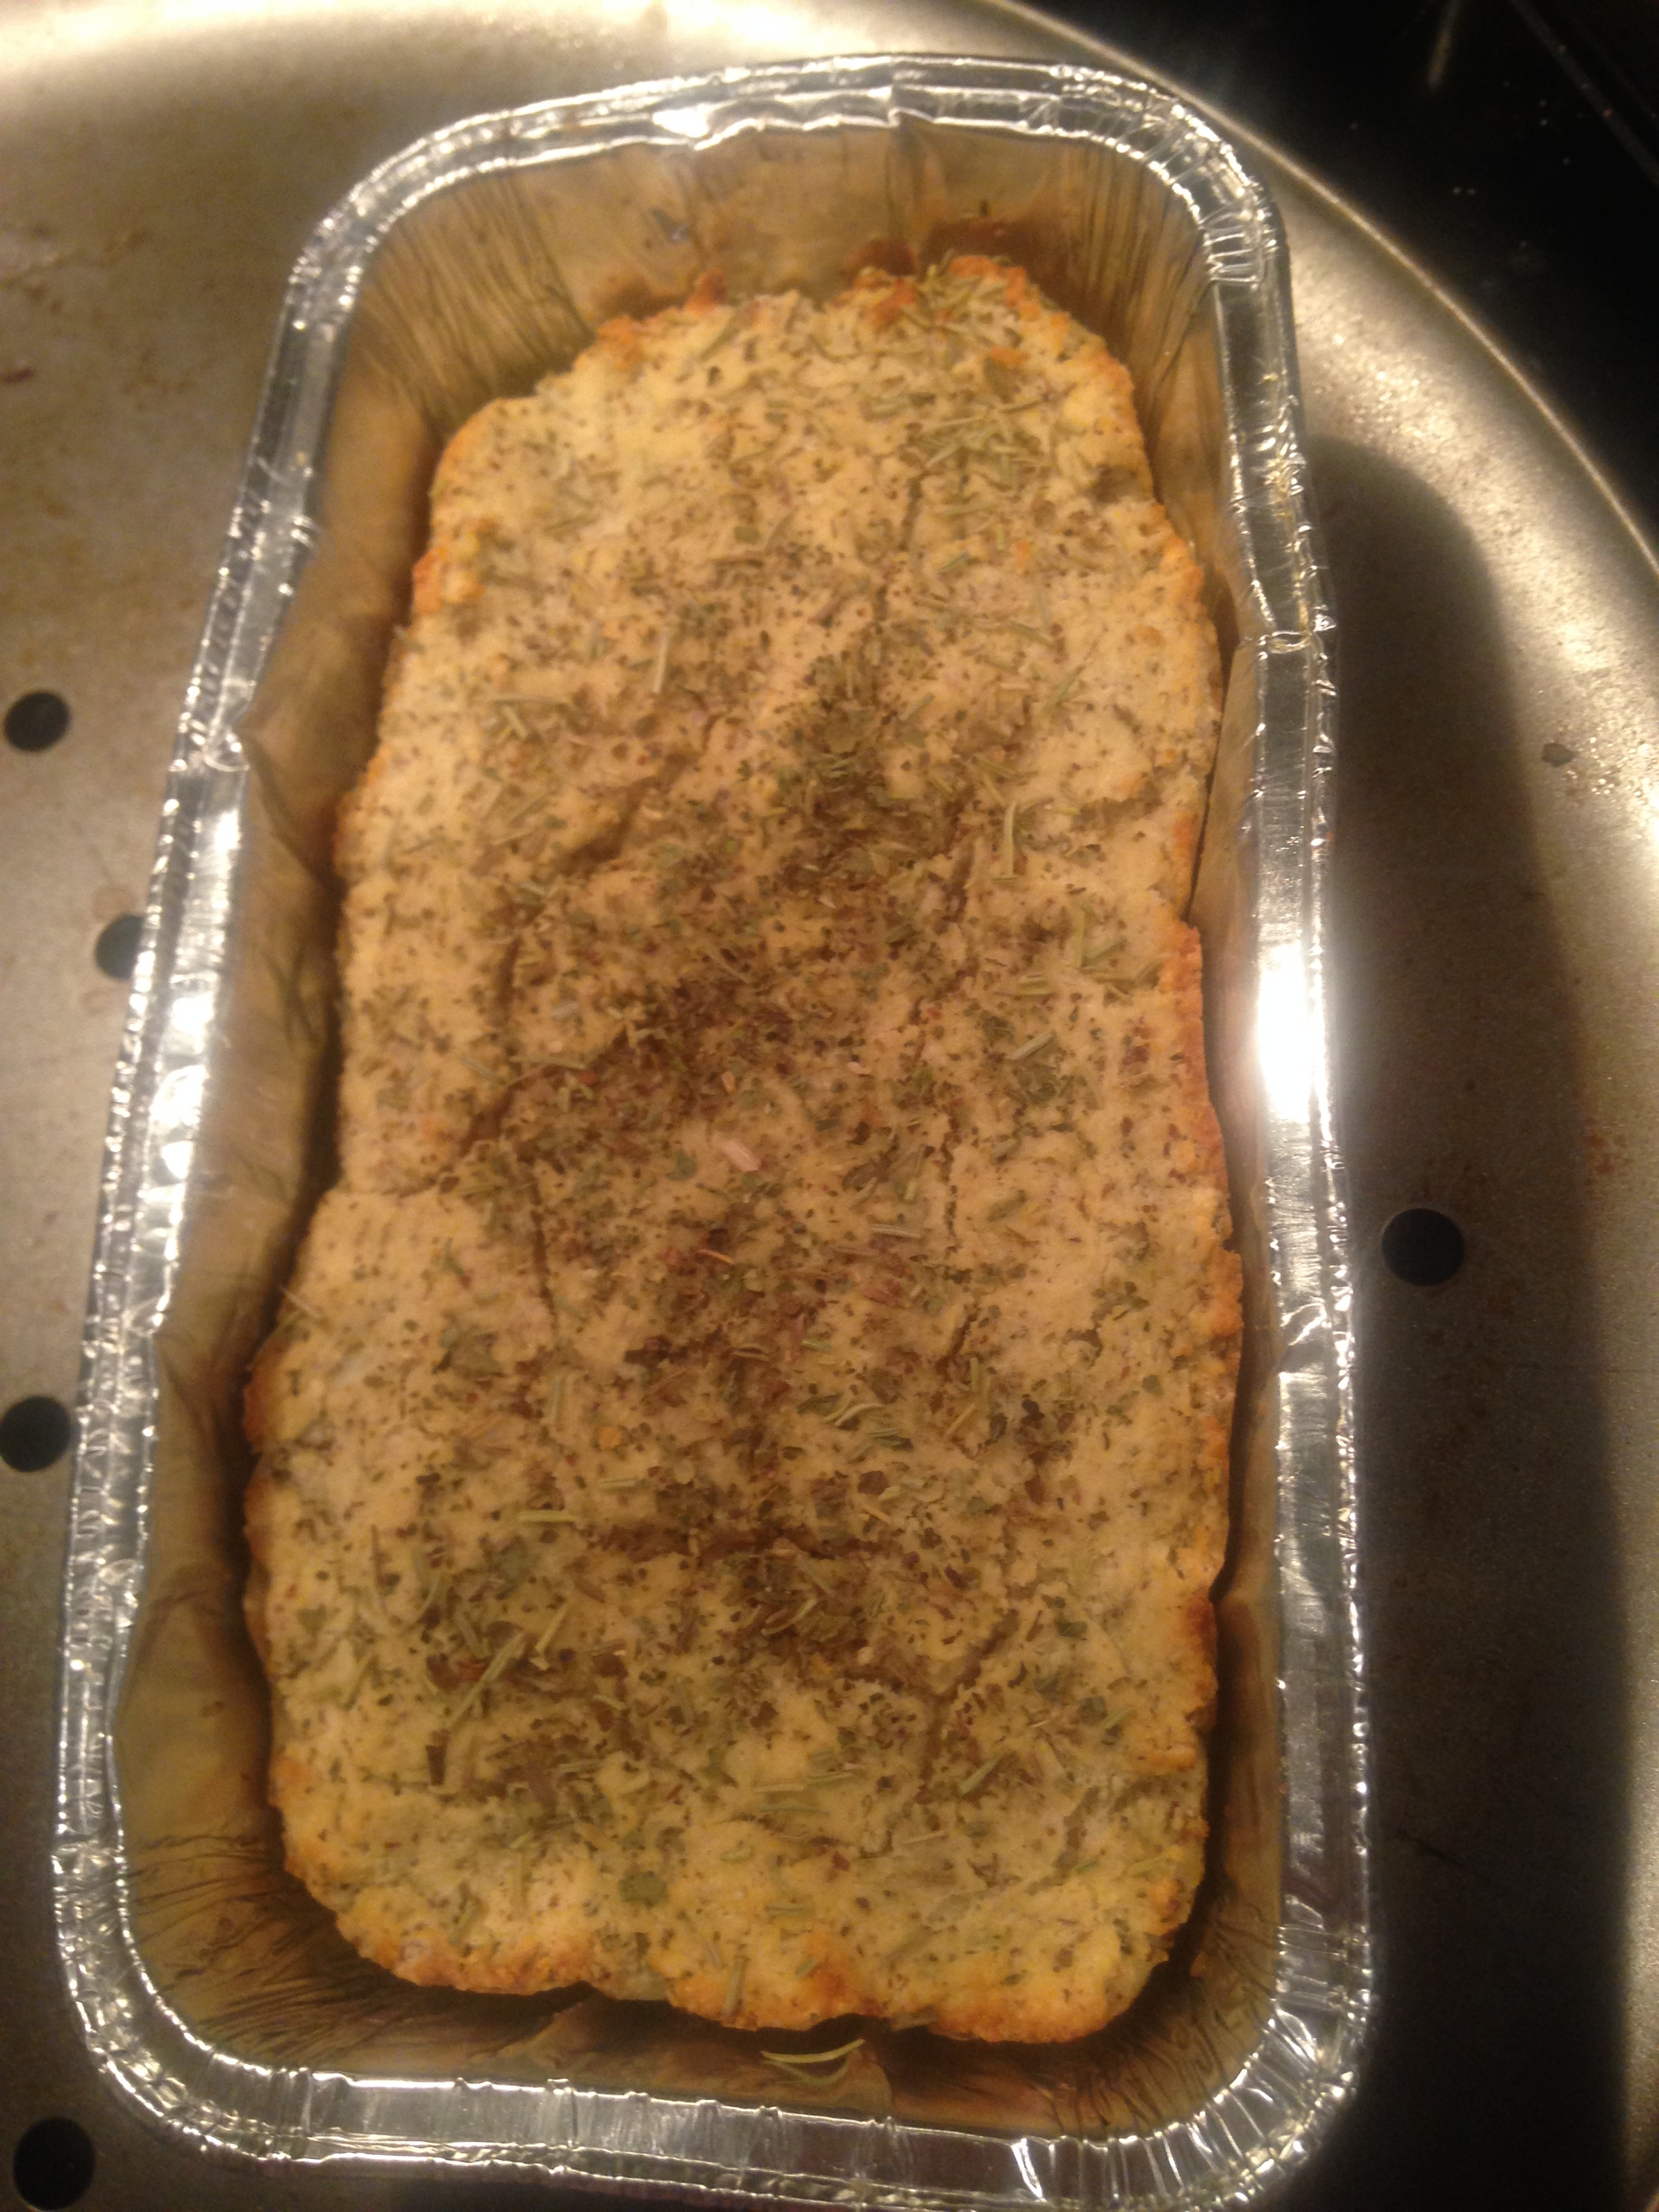
  • Crustless Egg Quiches (mini-muffins) with turkey sausage and herbs.
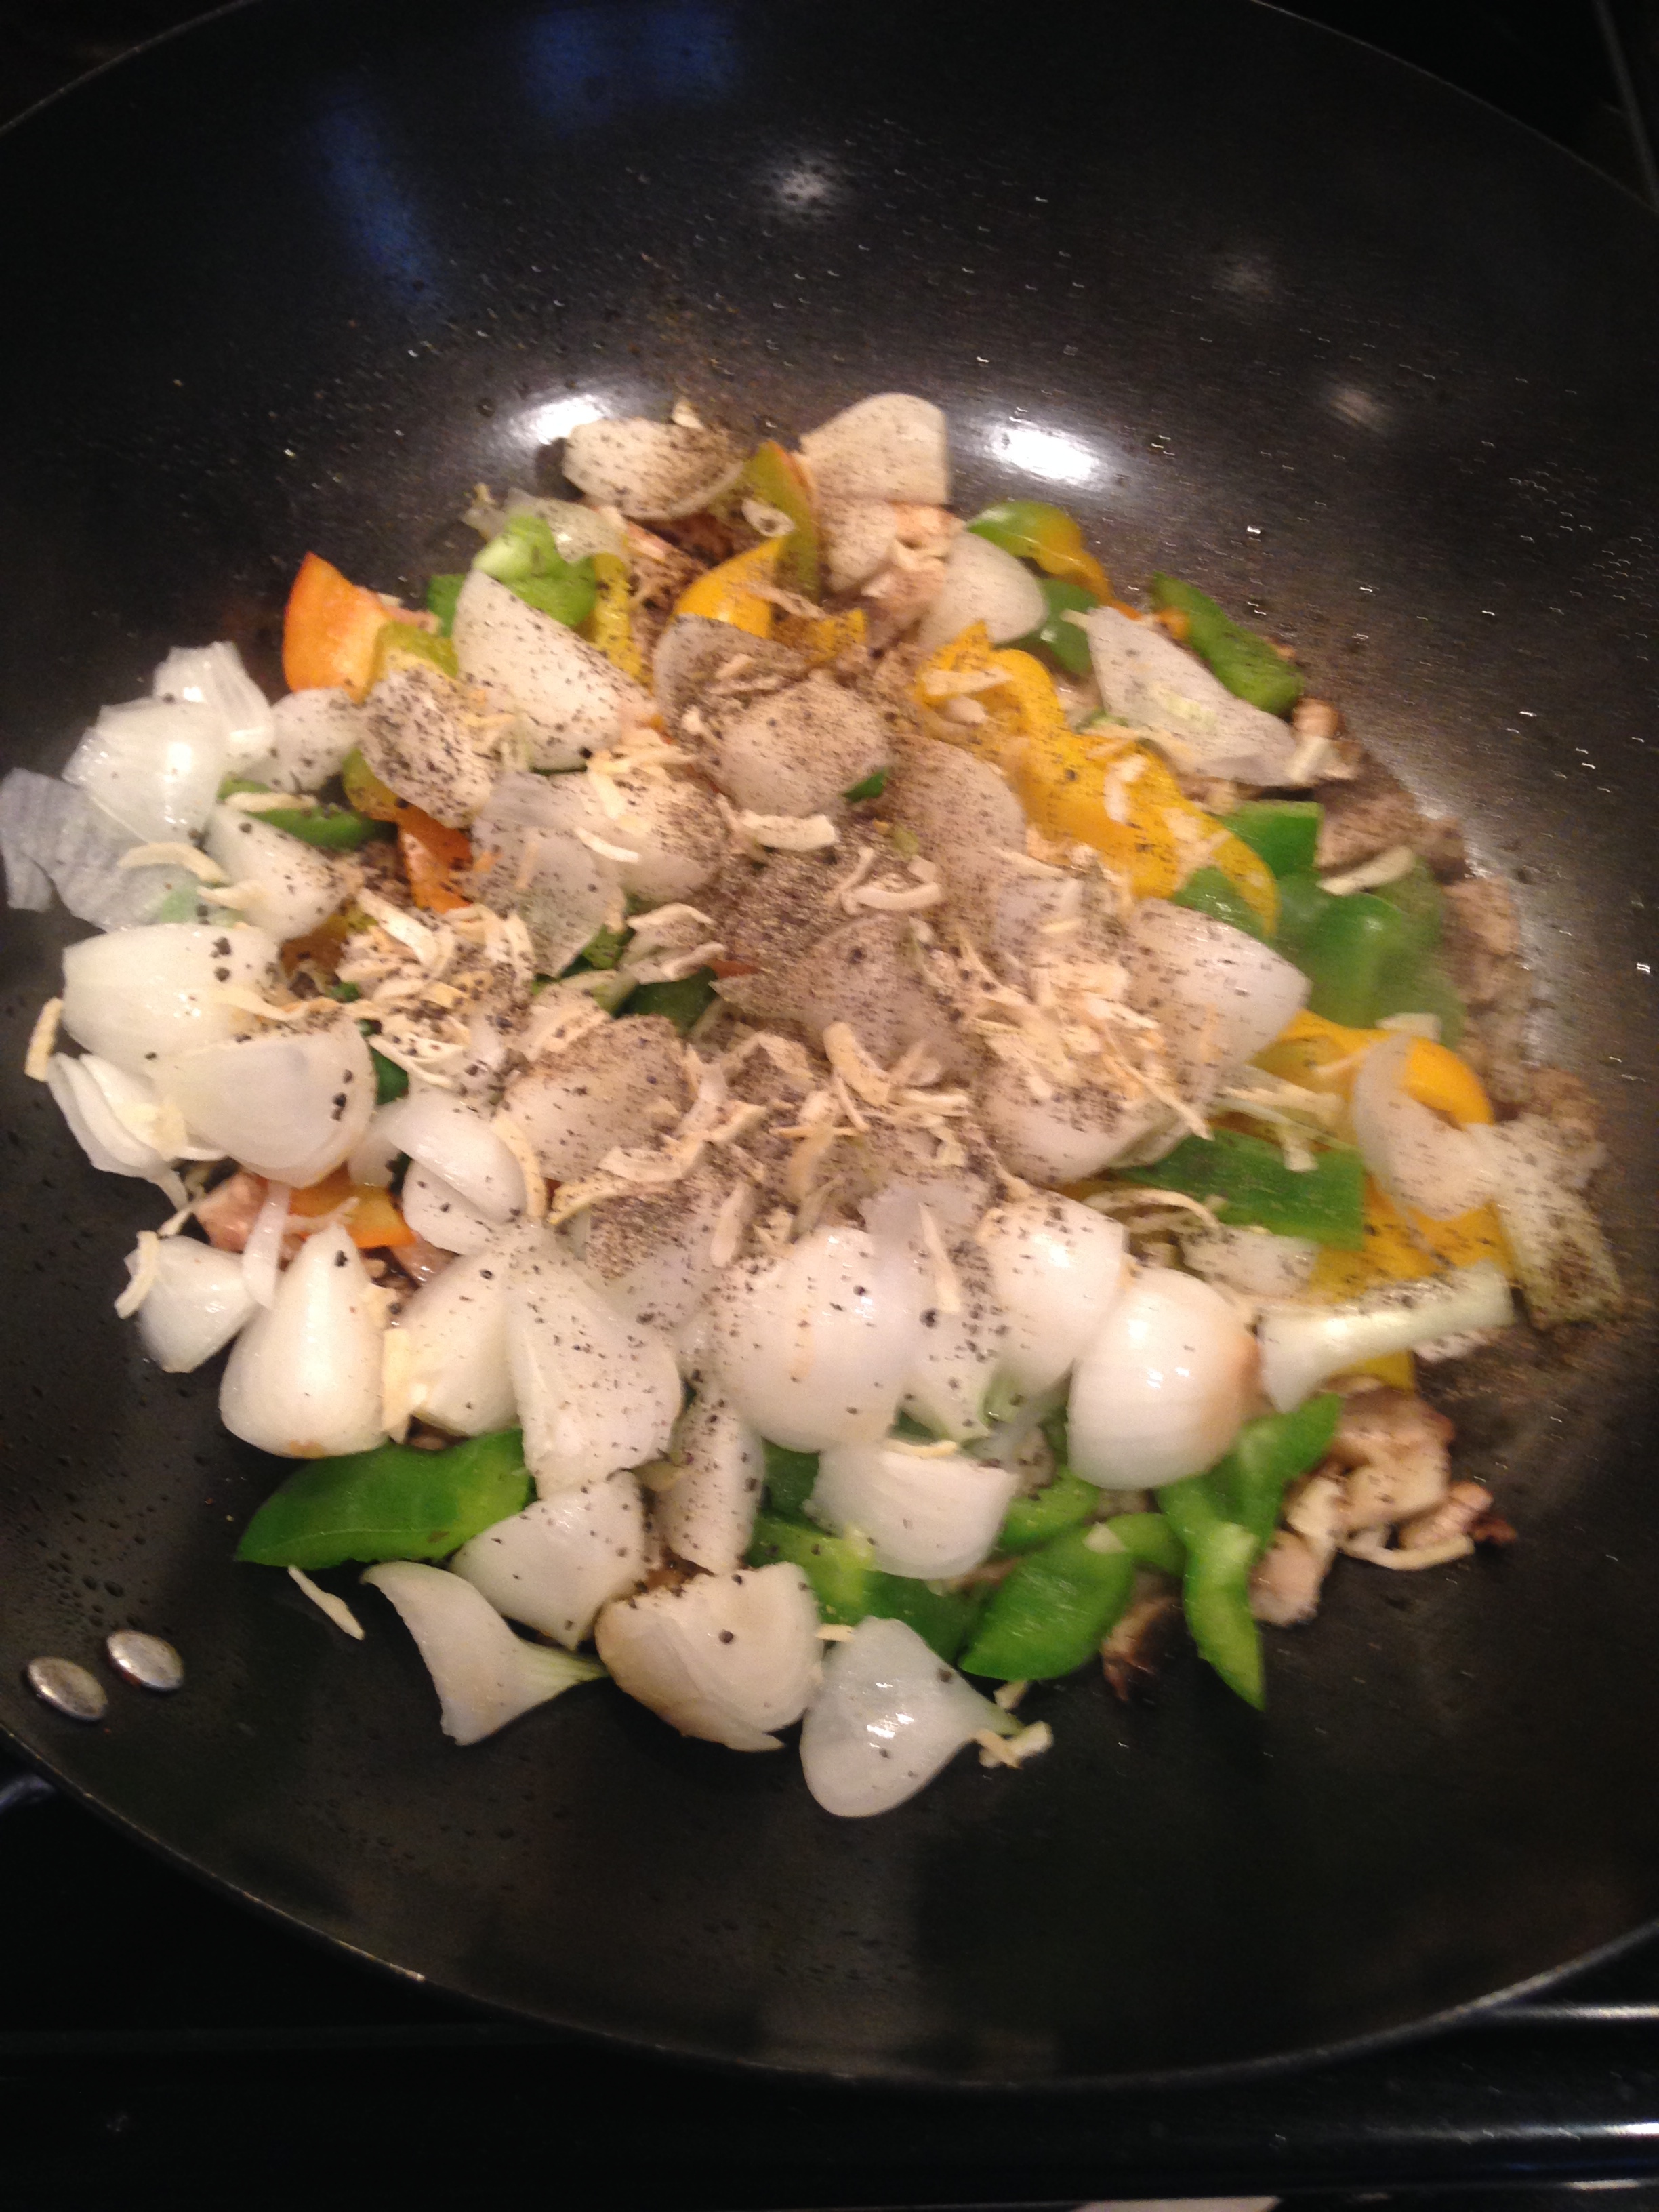
  • Grilled Mexican Chicken with carrots and fresh pico de gallo.
  • Roasted chicken with homemade pesto and sauteed zucchini.
  • Baked cod with cream sauce and sauteed green beans.
  • Roasted chicken, mashed potatoes, and carrots with mushroom gravy.

Every dish is gluten-free and they’re a pork free (and shellfish free) kitchen! As someone with a pork allergy, this is a big deal to me. I never have to worry about cross-contamination with Dine N Ditch, which is a huge worry off of my plate.

And did I mention the food is incredible?

Not too shabby!

Each meal is between 250-350 calories, has 25-35g protein, and is under 25g carbs (maximum).

But here’s the real kicker: the meals are so filling and satisfying, I haven’t been able to eat all five in a day! In fact, I’ve managed to save one meal each day since Sunday, so I actually won’t need to worry about taking a “cheat day,” as I still have three meals leftover that I’ve frozen to use later.

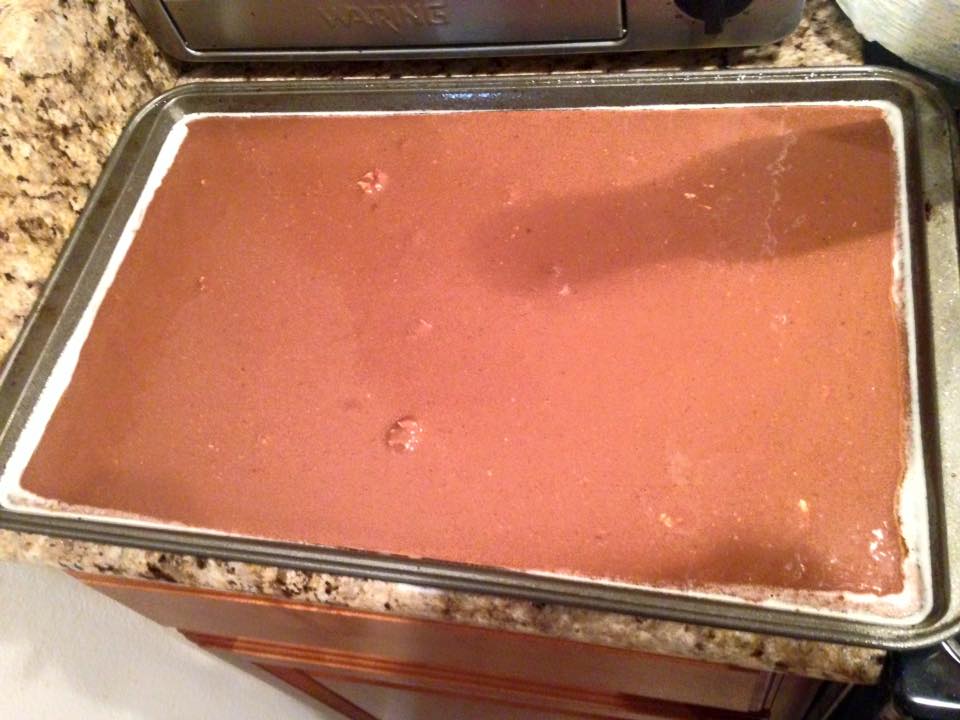
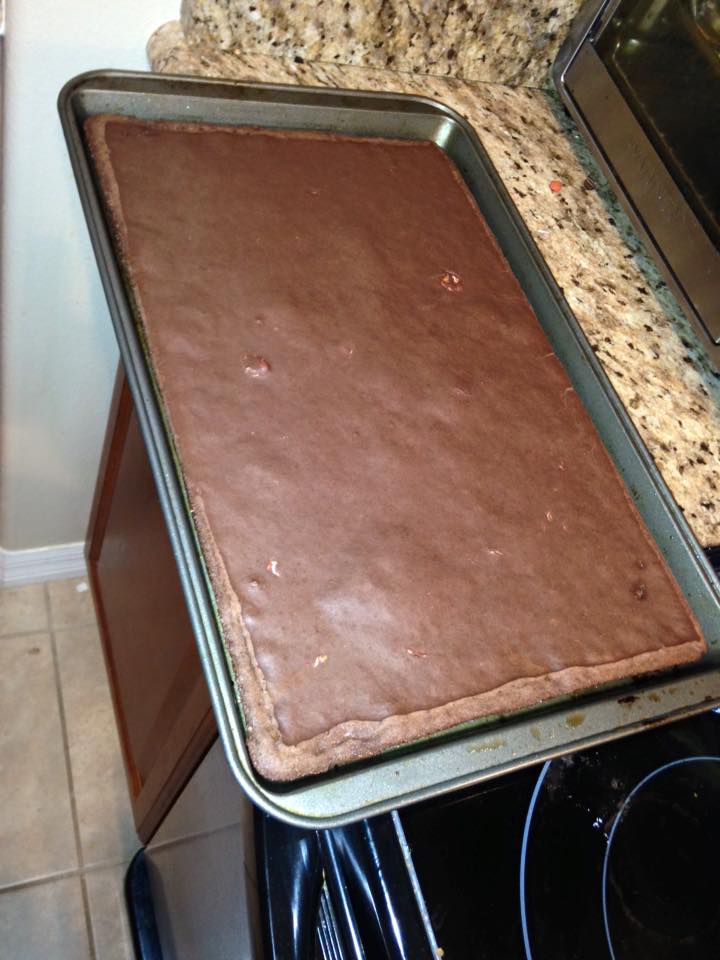
With eating four meals per day (roughly 1000 calories), I’ve given myself a 200 calorie allowance to be human – which I’m using daily with a piece of raw chocolate (under 50 calories) and a spoon or two of almond butter (between 90-180 calories) so I don’t go crazy and binge later.

So, how am I doing so far?

Monday, 4/25 Weight: 143.6

Today (Wednesday, 4/27): 141.0.

Already 2.6 lbs down in two days? Not too shabby.

Bon appetit, my friends!

~ Tori

Advertisement

Dining at Disney: Cinderella’s Royal Table

For those of you who didn’t know, my husband and I are DISNEY JUNKIES.

Seriously, we’re at the parks almost every weekend. Epcot is our favorite – especially during the Food & Wine or Flower & Garden festivals – but we’ve been recently rediscovering the cuisine of Magic Kingdom and I have to admit we’ve been pleasantly surprised.

Last week was our ninth wedding anniversary (cue the “Awwwwws!”), so I surprised him with reservations at Cinderella’s Royal Table, located in the beautiful castle the park is so famous for!

Let it be known, Cinderella’s Royal Table is not something you can do impulsively: you have to book reservations MONTHS in advance, and even then you can’t guarantee you’ll get an ideal time slot. I booked almost three months in advance, and managed to get a 10:15pm reservation for dinner. Not ideal dining time, but beggars can’t be choosers.

There are some caveats to keep in mind with dining at Cinderella’s Royal Table:

  • You pre-pay for dinner. It’s roughly $75 per person, but that covers a soft drink, appetizer, entree, and dessert, plus tax and gratuity.
  • It’s a pre-fix menu, but that’s not necessarily a bad thing.
  • If you don’t like being visited by Disney princesses in full costume throughout your meal, this is not the place for you.
  • NO ALCOHOL. (boooo)

That being said, I was very impressed by the food quality, presentation, and overall experience!

The Menu at Cinderella's Royal Table

The Menu at Cinderella’s Royal Table

The appetizer selection was a bit small – but the cheese tray was scrumptious and my husband said his sea-scallop compote was very nicely plated and surprisingly flavorful.

The dinner entrees, however, were STELLAR. We both enjoyed the filet and shrimp and, though again small portions, they were perfectly cooked and the tenderness of the steak was downright impressive.

IMG_2929

Seriously, this may be small, but it packed a ton of flavor. And the shrimp is almost as wide as the steak!

I was so tickled to see how many gluten-free and allergy-sensitive options they had! They offered vegan, vegetarian, gluten-free, and diet conscious choices, which was honestly very impressive.

Of course, since we were celebrating our anniversary, we didn’t really follow our normal diets (we both stick closely to Paleo), but rather we enjoyed the bread basket (so delicious!), and got whatever dessert sounded best.

IMG_2930

Almost too pretty to eat. Almost.

I tried the flourless chocolate cake (I can’t resist chocolate) and he tried the seasonal dessert, which turned out to be a delicious strawberry cheesecake I ate too quickly to take a picture of – whoops!

All in all, I would definitely recommend Cinderella’s Royal Table to anyone looking for some fine-dining on Disney property with all the fun of a character meet-and-greet. The food was worth the expense (unlike some of the other dining options, which are egregiously overpriced), and the ambiance was lovely.

Naturally, we took lots and lots of photos with the princesses.


P.S. It’s probably not a surprise (based on these photos), but we did enjoy a few drinks at Epcot before heading over. Hey, we were celebrating, so it’s 100% acceptable.

On that note… bon appetit, my friends!

Tori

Product Review: Quest Chips!

Protein Chips.

Yes, you read that right: protein-loaded potato chips. Not only do they exist, they’re also ridiculously delicious.

As you probably know if you’ve followed this blog for a while, I’m a big fan of Quest Nutrition. They sell flavored protein powders (the caramel is to die for), protein bars, and, like a gift from Heaven, protein-infused potato chips and candy.

If you’re like me, you’re probably VERY skeptical about the idea of a protein-packed salty snack, aren’t you? Lord knows I was. But, trusting in the delicious quality of the protein bars I’ve had in the past, I decided to order a couple packages of Quest Protein Chips on Amazon.com.

I ordered the BBQ flavor and the Sour Cream and Onion Flavors:

bbq sco

Needless to say, Quest delivered on their promise.

While the crunch isn’t the same as your favorite, high-fat kettle-cooked variety, these chips definitely deliver the potato-chip like texture you’re craving. I’d compare them to Pringles – thin and airy – but flavor-loaded.

When I read the ingredients (and saw the Whey protein), I was worried these chips would have a chalky or awkward aftertaste, but I am pleased to report they were perfect. The seasoning blend was not too salty, but still packed a punch. My husband preferred the BBQ (he said it tasted like a spice-rub from his favorite restaurant), whereas I was absolutely hooked on the Sour Cream and Onion.

They have a few other flavor options (Sea Salt, Salt & Vinegar, and Cheddar & Sour Cream) and I can’t wait to try them and see how they compare.

As a note: the chips are very light, so I would *not* recommend them for dips unless the dips are very soft. I tried dunking the Sour Cream & Onion chips into some Greek yogurt dip and they cracked pretty easily, so I’d suggest a different alternative if you’re trying to recreate your long lost nachos.

All in all, I’d strongly suggest stocking up on these (they’re super cheap on Amazon, especially if you use Subscribe and Save for bulk purchases), especially if you’re a sucker for salty indulgences. There is nothing to feel guilty about with these chips, and you’ll wonder how you survived so long without them!

Bon appetit, my friends!
~ Tori

Super Simple Protein Oats!

OK, I know it’s not exactly Paleo (who am I kidding? It’s totally not Paleo), but I’ve been obsessed with oatmeal lately. I was just buying the single-serve packets to quench my cravings, but I looked over the ingredients and was shocked to find how much JUNK was in them. Even the organic brands had a lot of sugar added, and it seemed the only way to avoid the unnecessary simple carbs and “natural flavorings” (seriously, what is that crap??) was to make it on my own.

On Monday, I decided to prep my breakfasts for the week, and I wanted to make it as simple as possible. I took four mason jars and filled them with oatmeal, vanilla protein powder, stevia, cinnamon, and cashew milk. I had no idea how it would taste, but decided to make five of them and hope for the best.

HOLY DELICIOUSNESS, BATMAN!!!

These things are amazing. Instead of eating them cold (as overnight oats), I’ve nuked them for about three minutes and they turn into this warm, almost oatmeal-cookie esque bread pudding that’s to die for.

For roughly 320 calories, I’m getting a solid 35g of protein and 5g of pure fiber goodness. And, most importantly, only 1g of sugar (33g total carbs, but I’m not doing a restrictive diet here)!

In case you want to recreate this vanilla cinnamon orgastic breakfast, here’s what I’m using:

  • 1/2 cup organic, steel-cut oats
  • 1 scoop of Isopure Vanilla 0g carb protein powder (pricey, but worth it)
  • 1 cup Silk Unsweetened Cashew Milk
  • 1 tsp cinnamon powder
  • 1/3 cup Stevia powder (more or less to taste)
  • Between 1/2 cup to 2/3 cup water, added a few drops at a time while microwaving

Mix-in Ideas:

  • 1/4 cup organic raisins (roughly 100 calories)
  • 1/4 cup chopped pecans or walnuts (roughly 200 calories)
  • 1/4 cup pumpkin puree (roughly 40 calories)
  • 1 tbsp chocolate chips (roughly 80 calories)

You can realistically get away with microwaving this about 90 seconds if you just want it to be warm and thick, but I discovered that cooking it longer makes it puff up noticeably (imagine a cake rising) and give the illusion of substantially more food. If you do microwave past 90 seconds, consider adding a few tbsp of water every 30 seconds or so and stirring. I cook mine roughly three minutes and it turns into a MASSIVE bowl of doughy/cakey oats, which is my FAVORITE. If you prefer porridge-style oats, definitely cut the time to less than two minutes.

Oatmeal


FYI: I know this is a terrible picture, but it smelled so good and I was so raring to eat it, I honestly didn’t care about getting a good picture. It smelled like the oatmeal cookies your grandmother used to make.

And the added plus? This keeps me full for HOURS! I ate this around 10am yesterday in the office and didn’t touch my lunch until after 3pm. As someone who normally grazes all day (and eats religiously every 2 hours, hungry or not), that’s saying something about the staying power of this simple dish.

So, these oats prove it: there really is no excuse for not eating a healthy breakfast every day. I literally prepped five of these in under five minutes Monday morning, and they take less than four minutes to heat/cook. It would’ve taken me 2-3x the amount of time to stop somewhere and grab a breakfast sandwich, and they’re substantially more filling than my usual protein-bar-out-the-door routine.

What’s your excuse?

Bon appetit, my friends!

~ Tori


Meal Prep and Real Life!

Today is officially my last day of “vacation.” Yes, I’m technically still off for the weekend, but today ends the last of my holiday vacation time.

While I had a blast in NYC from 12/28-1/3, I found this week extremely challenging. I was no longer in “chill mode” (aka: eat whatever, do whatever), but wasn’t back to my regimen, either. To be honest, I really didn’t know what to do with myself.

So, like any good yoyo dieter, I decided to use the week to “transition” myself back into the real world.

Since I had all day off while my husband was back at work, I used the free time to rack up a few hours at the gym, buy my school books, and catch up on some personal reading. I should’ve gotten ahead on school reading, of course, but that’s what my panic-induced Sunday cram sessions are for.

Today, though, I decided it was crucial I do something proactive for the upcoming week, as I will be back to full time work AND graduate school starting Monday.

I decided to invite my best friend Delonna, who has to follow a restrictive ketogenic and allergen-free diet, over to my house to do some healthy prep cooking for the week!

After three hours of laughing, making a mess, and “quality assurance testing” our goodies, here’s what I ended up with in my freezer:

3 individual turkey meatloaves (267 calories, 51g protein each)

3 individual beef meatloaves (288 calories each, 35g protein)

12 lamb meatballs (80 calories each, 7g protein)

12 chicken veggie muffins (72 calories each, 10g protein)

18 grain-free Italian muffins (98 calories each, 6g protein)

I’ll be making veggie egg muffins and grain-free cookies Sunday evening so there’s really no excuse to deviate from a healthy diet. Preparation is key to living (and maintaining control despite temptation) with a busy schedule. School and work are back full time on Monday!!

So, on that note, it’s time for a run and a little wine!

Bon appetit, my friends!

– Tori

RX Bars: Best Customer Service!

So, I’m sure all of you remember the horrific debacle I dealt with a few weeks back with Julian’s Bakery regarding their moldy, nasty Paleo protein bars, right? It was an all-around terrible experience: their customer service led me in circles, insisted I mail back their product, and told me I’d be responsible for shipping costs – all while I dealt with a product that was literally slimy with white mold. Needless to say, when I finally got my money back, I vowed to never order from them again.

While I absolutely love Quest Bars, though, I knew I needed to find a Paleo-approved substitute to use in my regular diet. Quest Bars are made with corn fiber and dairy/whey, which is a big no-no for most primal diets. So, while they are good for the occasional cheat, they definitely shouldn’t play a prominent role in your daily nutrition.

That being said, I did a bit of research and discovered the RX Bar company!

RX Bars are 100% natural: they contain fruit, nuts, and egg whites. The end.

And, with each RX Bar boasting 12g of protein and lots of fiber, they’re the perfect breakfast-on-the go for Paleo and non-Paleo people alike!

I had ordered three cases back in July and kept them in my pantry, where they were unfortunately forgotten for about three months. When I rediscovered them last week, I was thrilled to dive back in and enjoy them. I did notice, though, that two of the bars I opened had a tiny spot of mold on them. I checked the expiration date and the product should have been OK, but I did note the wrappers were thin, so I likely had damaged/ripped them when I put them away.

Fearful for a repeat of the terror Julian’s Bakery, I sent a request through the “Contact Us” form on the RX Bar’s website, praying to just get a coupon or something for the product so I could order more.

But I got so, so much more.

About an hour after my request was submitted (noting the mold on the bar, the expiration date, and the fact that I believed the wrapper could have been damaged by me or in transport), they had a customer service representative call me personally.

What?! A call from a real human being?! What sorcery is this?

The young lady was SUPER sweet, verifying the details I put on my request form and just asking for the bar code from the packaging so she could check to see if there was any history or issue with that particular batch of bars. She was never accusatory or defensive (see my conversations with Julian’s Bakery to see the OPPOSITE of this behavior), and she apologized several times for any inconvenience this caused me. She immediately told me that they’d redesigned their packaging to avoid this issue several months ago, and also changed the recipe slightly to bring down the moisture (switched from dates to cashews), so she was positive I’d have a better experience in the future. She also confirmed I didn’t have any allergies (seriously, how courteous is that?) and then offered to replace the bars – a full 12-pack! – as an apology and a means of rectifying the situation.

WHAT?!

So, not only did she offer an apology for a slight issue with the product, but she also replaced it – with free shipping! – by 1200%!

****LOOK****

THEY ARE SO CONFIDENT ABOUT THE QUALITY OF THEIR BARS, THEY GUARANTEE THEM RIGHT ON THEIR WEBSITE!

This is LIGHTYEAR’S beyond how the customer service department at Julian’s Bakery treated me, and far beyond my expectations for excellent customer service. I already loved RX Bars for their delicious product, but now their incredible customer service has now solidified a life-long relationship with me.

If you’re on a Paleo, Whole30, Primal, or nutrition-focused diet — or just love real, healthy food — you definitely need to pick up a few packs of these bars! I love the Coffee Cacao and Blueberry, but ALL of the flavors are truly amazing!

Bon appetit, my friends!

~ Tori


Lemon Coconut Creme Paleo (and Candida-diet friendly) Cake!

As I mentioned before, a close friend of mine has been struggling under the confines of a very restrictive diet (Phase I of the Candida-diet) and the lack of variety has been very draining on her.

Her birthday was last week and I knew she was very upset that not only could she not indulge on her birthday with a drink, a birthday cake was totally out of the picture.

Or was it?

I decided I was NOT going to let her celebrate her 28th birthday without a sweet treat to make it special. Working with no grains, no sugars, and limited approved ingredients would make for a challenge, but I was ready to test my culinary prowess.

This is what I made my best friend:

12240046_10101645334673493_4460777102840056443_n

What you are looking at is:

Grain Free, Sugar Free, Dairy Free, and 100% Paleo-Approved.

And, most importantly, DELICIOUS.

How did I do it?

Well, if you recall, a few weeks ago I decided to experiment with a Candida-approved Italian bread recipe that turned out REALLY well.

Running with that variation, I decided to see if I could turn a savory bread into a sweet cake with some mild variations. After FOUR experiments (using different measures of coconut milk, eggs, and flour ratios), I came up with the following PERFECT cake mix:

PERFECT PALEO (SUGAR FREE!) LEMON CAKE:

3/4 cup unsweetened, pure coconut cream
1/2 cup coconut flour
1/2 cup almond flour
1/3 cup shredded, unsweetened coconut fiber
1/2 cup granulated Stevia
1 tsp gluten-free baking powder
1 tbsp alcohol-free pure vanilla extract
1/2 tsp sea salt
2 tbsp coconut oil
4 whole eggs
2 egg yolks
Zest of one lemon
Juice of one lemon, with pulp

The cake would be prepared like any other cake: dry ingredients are first in the bowl, and then you’ll fold in the wet ingredients.

Place dough (it’ll be thick, but pliable) in a 9″ round cake pan that you’ve greased ahead of time. I used organic coconut oil spray, but you can go with whatever oil you prefer.

Bake for 25 minutes at 350.

But what is a CAKE without icing?

Now, I knew I’d never recreate a perfect, fluffy icing …and if I did, I realized it would be very temperature-weak, since it would have to be comprised of coconut oil which melts at pretty much any temperature over 72 degrees. So, I decided to forgo a traditional icing and aim for a lemony, zesty glaze to drizzle on top. After dabbling, I landed on the perfect recipe cited below.

ZESTY PALEO (SUGAR FREE!) LEMON ICING GLAZE:

1/3 cup unsweetened, pure coconut cream
4 tbsp coconut oil
Zest of 1/2 lemon
Juice of 1/2 lemon
1/4 cup coconut flour
1 egg white
1/3 cup stevia
1 tbsp alcohol-free pure vanilla extract

The icing is best prepared in a sauce pan on the stove, stirring NONSTOP until it thickens. Pour over cake while still warm. You’ll have a ton with this recipe, so think of this like a Lemon Tres Leches cake!

And there you have it! My best friend got to enjoy a slice of REAL CAKE on her birthday, and I had a real win in the kitchen!

For those of you worried about calories, the entire cake was roughly 2,100 total (with the icing included), and that worked out to about 10-12 slices, depending on how heavy-handed you are with your servings. If anyone wants a full nutritional breakdown (I have it!), let me know!

So, what are you waiting for? Time to start baking!

Bon appetit, my friends!

~ Tori

Candida Diet Approved (and PALEO) Italian Bread!

A very close friend of mine has been dealing with some health issues and her doctor, both trained in holistic/natural and traditional medicine, has suggested she follow a Candida-diet in the short term until they are able to fully identify the cause of her illness.

After learning more about the Candida Diet, I realized that it’s really not that far off from the Paleo diet. Where hers has a few more restrictions when it comes to sugar (she cannot have any fruit whatsoever, and has to avoid most starches), she’s allowed a few grains that are normally prohibited from the Paleo diet. Other than those few differences, though, we’re basically following the same basic guide: lean meats, healthy fats, and lots of green vegetables.

She told me she had baked some bread and, knowing I pay $8.99 per loaf for my coconut bread from Julian’s Bakery, she suggested I try out her recipe, which is both inexpensive and easy to make:

Ingredients (in her original recipe):

  • 1/2 cup coconut flour
  • 1/2 cup almond flour (can also substitute millet or buckwheat)
  • 1/2 cup coconut milk (creamy part on the top works best)
  • 5 eggs
  • 2 tbsp coconut oil
  • 1/2 tsp salt
  • 1 tsp baking powder
  • 2 tsp Stevia powder

Directions:

Blend dry ingredients separate from wet ingredients, then combine.
Pour into greased loaf pan, bake at 350 for about 30 mins.
Top of the loaf should be firm, and a light golden color.
Let cool.

Since I was craving bread sticks and Italian food, I decided to modify her recipe a bit with additional seasonings and try to cut the calories down a tiny it, since her recipe was over 140 calories per slice. While I try not to focus on calories, 140+ for a small slice seemed a bit steep.

Here’s the modified version I made, which came out WONDERFUL:

Ingredients (a la Victoria):

  • 1/2 cup coconut flour
  • 1/2 cup almond flour
  • 1/2 cup unsweetened cashew milk (a huge calorie savings)
  • 3 whole eggs, 3 egg whites (another 200+ calories saved)
  • 2 tbsp coconut oil
  • 1/2 tsp salt
  • 1 tsp baking powder
  • 2 tsp Stevia powder
  • 1 tbsp dried basil leaves
  • 1 tbsp garlic powder
  • 1/2 tbsp dried rosemary
  • 1/2 tbsp oregano
  • 1/2 tbsp thyme

I baked it according to her instructions, and the texture was PERFECT. It’s like a thick, earthy, mountain bread. The seasoning gave it the perfect savory flavor, and I could imagine myself toasting the slices to use as croutons after a few days.

IMG_9040The picture isn’t fancy — I was tired and baking this at 11pm at night.

I contemplated making a sweet version of this bread, using unsweetened organic applesauce in place of the oil and blending in raisins, cinnamon, and crushed pecans to make a dessert-style bread. Perhaps that will be tonight’s experiment!

In the meantime, I’m so in love with this Italian bread, I had a slice with my breakfast:

IMG_9042Look at all that grain-free goodness! NOM NOM NOM.

Bon appetit, my friends!

~ Tori

High Protein, Low Carb Brownies

Alright, folks, I’m on day three of my low-carb, high intensity workout regimen and, amazingly, I haven’t caved and scarfed down my stockpile of Cadbury Creme eggs …yet.

I have, though, suffered from some pretty intense sweets cravings, which has led me on an internet search to find something sweet that won’t break the carb bank.

I found a few low carb recipes, but nothing really blew me over and most of them were RIDICULOUSLY high in fat and calories (basically pure-butter blocks!), so …I decided to improvise and make my own!

Tori’s High-Protein, Low-Carb (grain-free/gluten-free) Brownies!

Ingredients:

  • 1 cup of Splenda (it is low carb, after all)
  • 4 oz of unsweetened, pure dark chocolate (melted)
  • 1/4 cup of melted butter or ghee
  • 2 full scoops of your favorite low carb Chocolate protein powder
  • 1 cup of egg whites (or egg substitute)
  • 1/2 cup Walden Farms brand sugar free chocolate syrup (aka, nectar of the gods)
  • 1/2 cup Walden Farms brand sugar free caramel syrup (tastes like melted dulce de leche ice cream!)
  • 1 cup of fat free cream cheese, softened (but NOT melted!)
  • 1 dash chili powder
  • 1 dash sea salt
  • 1/2 tsp cinnamon
  • Trader Joe’s Coconut Oil Spray (a godsend!)

Directions:

I’m the first to admit that I’m not much of a baker, so I definitely am not one to “sieve” this, or “whisk,” that, and –by some miracle of the pastry heavens– this recipe came out perfectly by just combining ALL of the ingredients in one giant bowl and beating it into a creamy oblivion.

Hint: the harder and longer you whip, the fluffier the brownies will be.

Preheat your oven to 350 degrees, and spray your pan (use a brownie dish for THICK, moist brownies, or a COOKIE SHEET for thin, crispier brownies – my preference) well to ensure nothing sticks.

Pour in well-beaten batter and gently rock pan to get the better evenly spread out.

10423740_10155804494890204_939688812912327123_n

Tiny little cream cheese lumps survived the beating, but they didn’t impact the flavor or texture at all!

If using a smaller pan, bake at 350 degrees for 18-22 MINUTES. For a cookie sheet or larger pan, bake at 350 for 14-16 minutes. I baked mine for about 18 minutes in a cookie sheet and thought they turned out a little well done, but still SUPER delicious.

And, seriously, don't these look perfect?! Hard to believe they're completely flourless.

And, seriously, don’t these look perfect?! Hard to believe they’re completely flourless.

I could barely wait for them to cool, and managed to cut this tray into TWENTY FOUR giant servings (think 2×2″ brownies!).

Calorie/Nutrient Content for one brownie (assuming 24 servings in total):

  • 81 Calories
  • 5.3g fat
  • 2.2g carbs
  • 4.6g protein

I’m going to keep playing with the recipe to see if I can boost up the protein a bit more (maybe Greek yogurt instead of cream cheese? more protein powder?) and reduce the fat a tiny bit, but only 2.2g carbs for a solid 5 bites of brownie is a win-win in my book!

On that note… bon appetit, my friends!

~ Tori

Paleo Stuffed Peppers!

OK… everyone has been raging about stuffed peppers in my office this week. For three days in a row, it’s all anyone can talk about.

“Ohhhh, my wife made these ground andouille sausage and quinoa stuffed peppers last night and they were amazing!”

“I saw a recipe on Pinterest for these brown rice and ground pork cheesy stuffed peppers I can’t wait to try!”

“Have I said stuffed peppers yet today? Stuffed peppers! Stuffed peppers! STUFFFFFFED PEPPPPPERS!!”

OK. I get it, Paleo gods, I get it. I need to make some Paleo-friendly stuffed peppers.

However, I work full-time and hate the thought of coming home at 6pm to clean, prep, and bake stuffed peppers for an hour …because, damn it, I’m starving when I get home from work. I want to CHOW DOWN!

So… it’s crockpot time. Time for the magic.

Ingredients:

  • 1 pound lean ground turkey
  • 2 bunches of pearl onions
  • 8 large bell peppers
  • 1 cup raw button mushrooms
  • 2 cups of Trader Joe’s organic marinara
  • 1 cup red wine (of your choice)
  • 6 tbsp ground garlic
  • 6 tbsp ground chili powder
  • 4 tbsp dried onion flakes (if you haven’t noticed, I add these to everything I cook)
  • Non-stick Coconut Oil spray (I prefer Trader Joe’s)

Directions:

In your crockpot, spray a thin layer of coconut oil to prevent searing/sticking. Clean your bell peppers, chopping the tops off and removing the seeds/insides. Place the bell peppers into the crockpot.

IMG_6197

Now, in a large pan (I used a wok), spray your coconut spray (to prevent sticking) and put it on medium-high heat. Gentle saute your mushrooms (I chopped mine small), pearl onions, pepper caps (why waste them? dice ’em and add it in!) until they were nice and soft. Once tender, I added the raw ground turkey and seasoning.

IMG_6196

After the turkey was cooked through, I added 1 cup of the marinara, mixing well.

IMG_6199

While that cooked down, I mixed the remaining cup of marinara and the wine and poured it IN BETWEEN the peppers in the crockpot. The hope is that the fluid would help to poach the bell peppers, making them soft and sweet.

Once the meat mixture cooked down, I used a big spoon and (quite clumsily) stuffed the peppers in the crockpot.

IMG_6203

Don’t those look AMAZING? Who needs grains? Not this girl!

Since the meat is cooked and I won’t be home until after 8pm tonight, I set the crockpot to LOW and to cook for three hours, then reset to “warm” so it would still be steamy warm when I get home.

Now, since my husband isn’t devout Paleo, I sprinkled a little low fat mozzarella and Parmesan on four of these to make them extra tasty for him, and I plan to enjoy mine with some freshly mashed avocado.

Needless to say, I can’t wait for my work day to end so I can go inhale these!

Bon appetit, my friends, and I’ll let you know how they turned out tomorrow!

~ Tori